Cabinet Painting: Boost Your Home's Aesthetic Appeal
Are you looking to revitalize your home's interior without breaking the bank? Look no further than cabinet painting! Cabinet painting is a budget-friendly solution that can breathe new life into your kitchen or bathroom, instantly boosting your home's aesthetic appeal. In this comprehensive guide, we'll explore the ins and outs of cabinet painting, from its importance in home aesthetics to step-by-step instructions for achieving professional results. So, let's dive into the world of cabinet painting and discover how you can transform your space with this simple yet impactful DIY project.
The Importance of Cabinets in Home Aesthetics
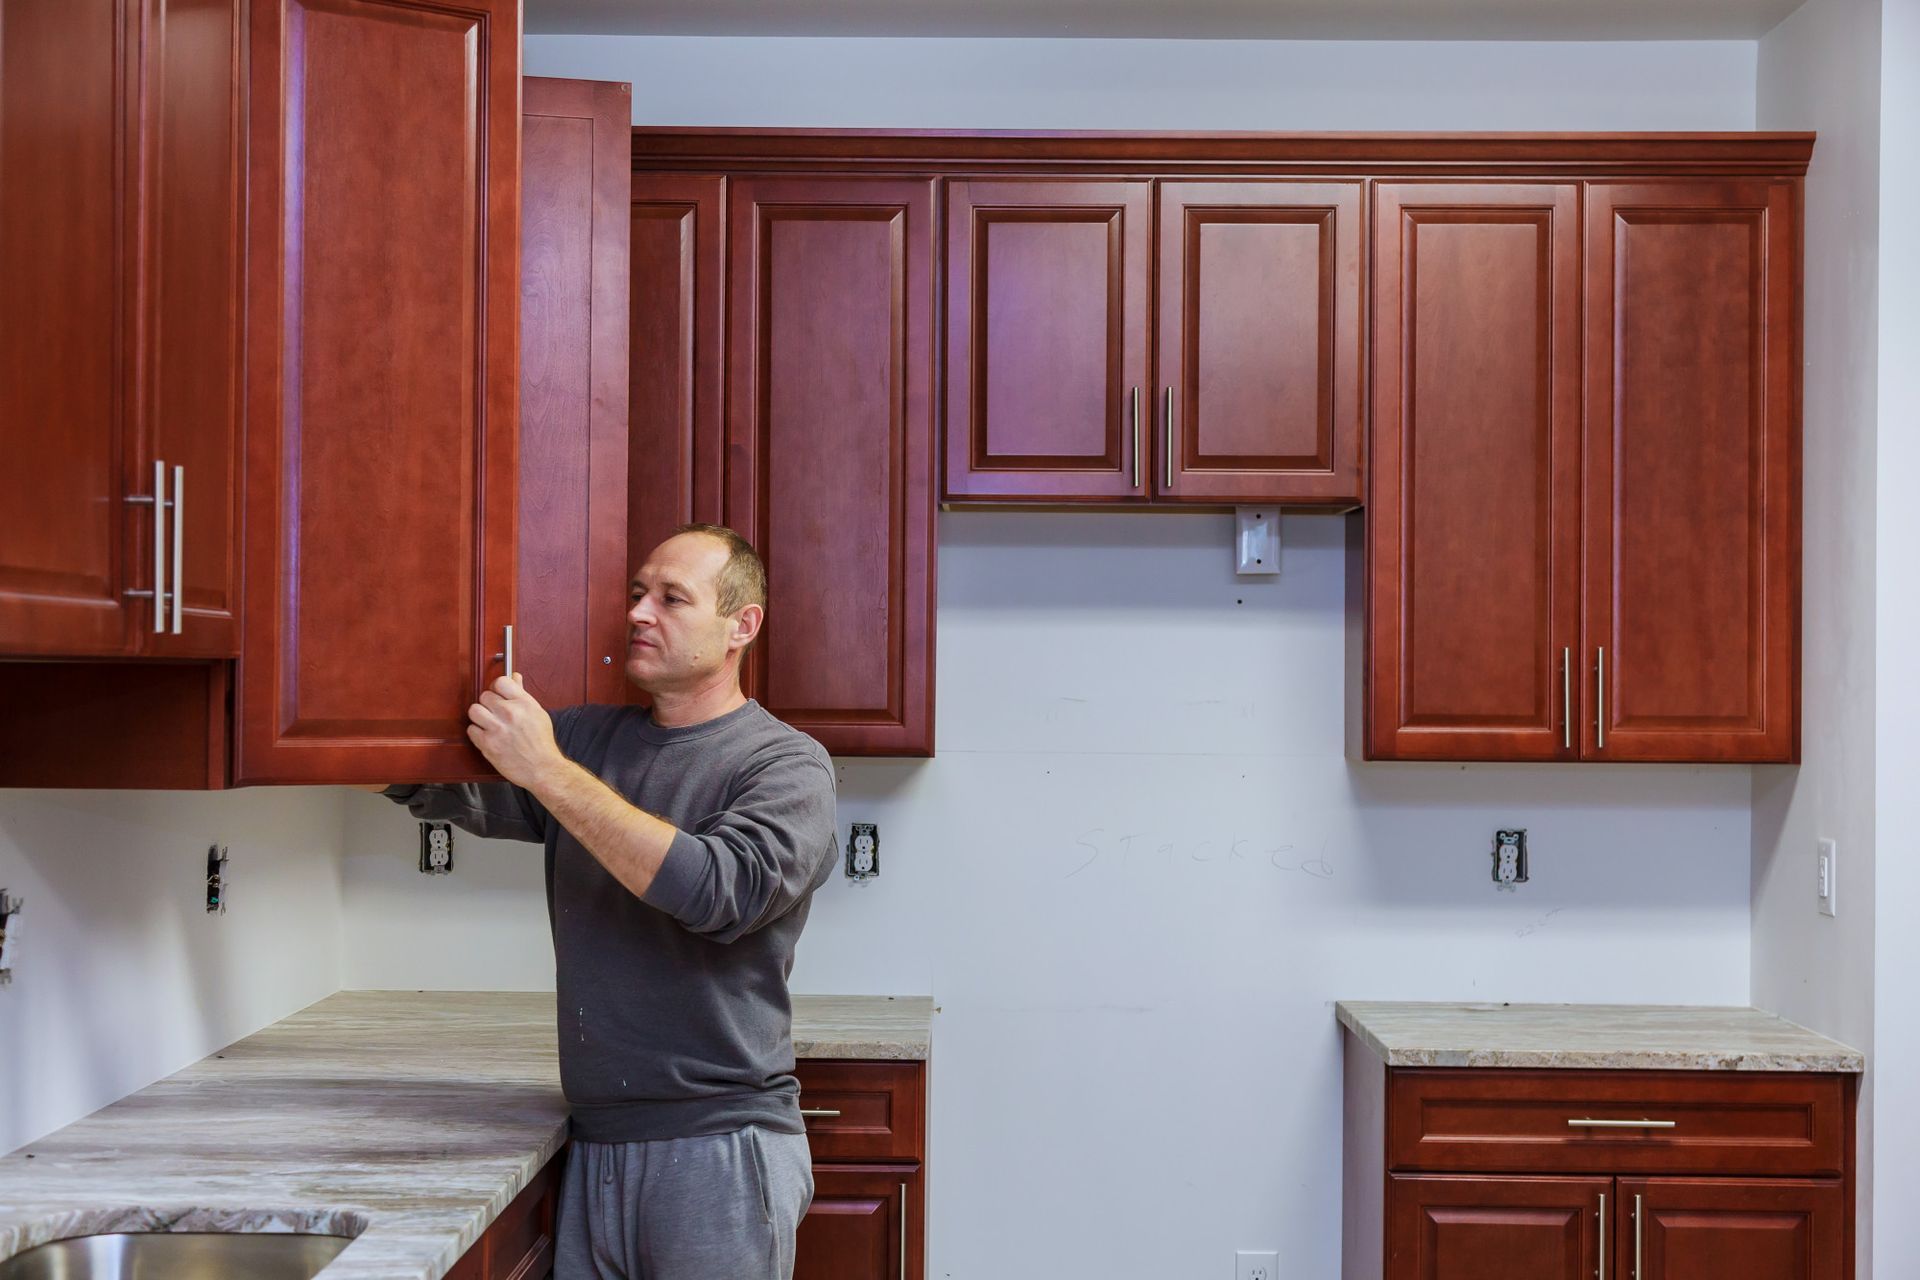
Cabinets play a crucial role in defining the look and feel of a room, particularly in kitchens and bathrooms. As focal points of these spaces, cabinets not only provide essential storage but also contribute significantly to the overall aesthetic. Whether you prefer a sleek modern look or a cozy traditional style, the appearance of your cabinets sets the tone for the entire room. From the color and finish to the hardware and design details, every aspect of your cabinets influences the visual appeal of your home.
Benefits of Cabinet Painting
When it comes to updating your cabinets, you might be tempted to opt for a complete replacement. However, cabinet painting offers several advantages over replacement, making it a cost-effective and practical choice. With cabinet painting, you can customize the look of your cabinets to suit your taste and style preferences. Whether you want to brighten up your space with a fresh coat of white paint or add a pop of color for a bold statement, the possibilities are endless. Additionally, cabinet painting is an eco-friendly alternative to disposal, reducing waste and environmental impact.
Preparation for Cabinet Painting
Before diving into the painting process, proper preparation is key to achieving professional results. Start by assessing the condition of your cabinets and identifying any repairs or surface imperfections that need attention. Next, thoroughly clean the surfaces to remove dirt, grease, and grime, ensuring proper adhesion of the paint. Remove hardware such as handles and hinges, and protect surrounding areas with masking tape and drop cloths. Finally, choose high-quality paint and primer suitable for your cabinet material and desired finish.
Step-by-Step Guide to Cabinet Painting
Now that you've prepared your cabinets, it's time to delve into the step-by-step process of cabinet painting. Follow these detailed instructions to achieve professional-looking results and transform your space:
- Sanding and Surface Preparation: Begin by thoroughly sanding the surfaces of your cabinets to create a smooth and uniform base for the paint. Use a medium-grit sandpaper (around 120 to 150 grit) to remove any existing finish, rough spots, or imperfections. Pay special attention to areas with built-up grime or grease, as these can affect paint adhesion. After sanding, wipe down the surfaces with a damp cloth to remove dust and debris, and allow them to dry completely before proceeding.
- Application of Primer: Once the surfaces are clean and dry, it's time to apply a high-quality primer specifically designed for use on cabinets and trim. Primer helps to seal the surface, promote adhesion, and provide a uniform base for the paint. Using a brush or roller, apply the primer evenly to all surfaces of the cabinets, working in the direction of the wood grain for a smooth finish. Allow the primer to dry completely according to the manufacturer's instructions before moving on to the next step.
- Choosing the Right Paint: When selecting paint for your cabinets, opt for a durable enamel or acrylic-latex paint that is specifically formulated for high-traffic areas. Semi-gloss or satin finishes are popular choices for cabinets, as they provide a smooth, easy-to-clean surface with a subtle sheen. Consider factors such as color, durability, and ease of application when choosing your paint. Be sure to stir the paint thoroughly before use to ensure proper consistency and color distribution.
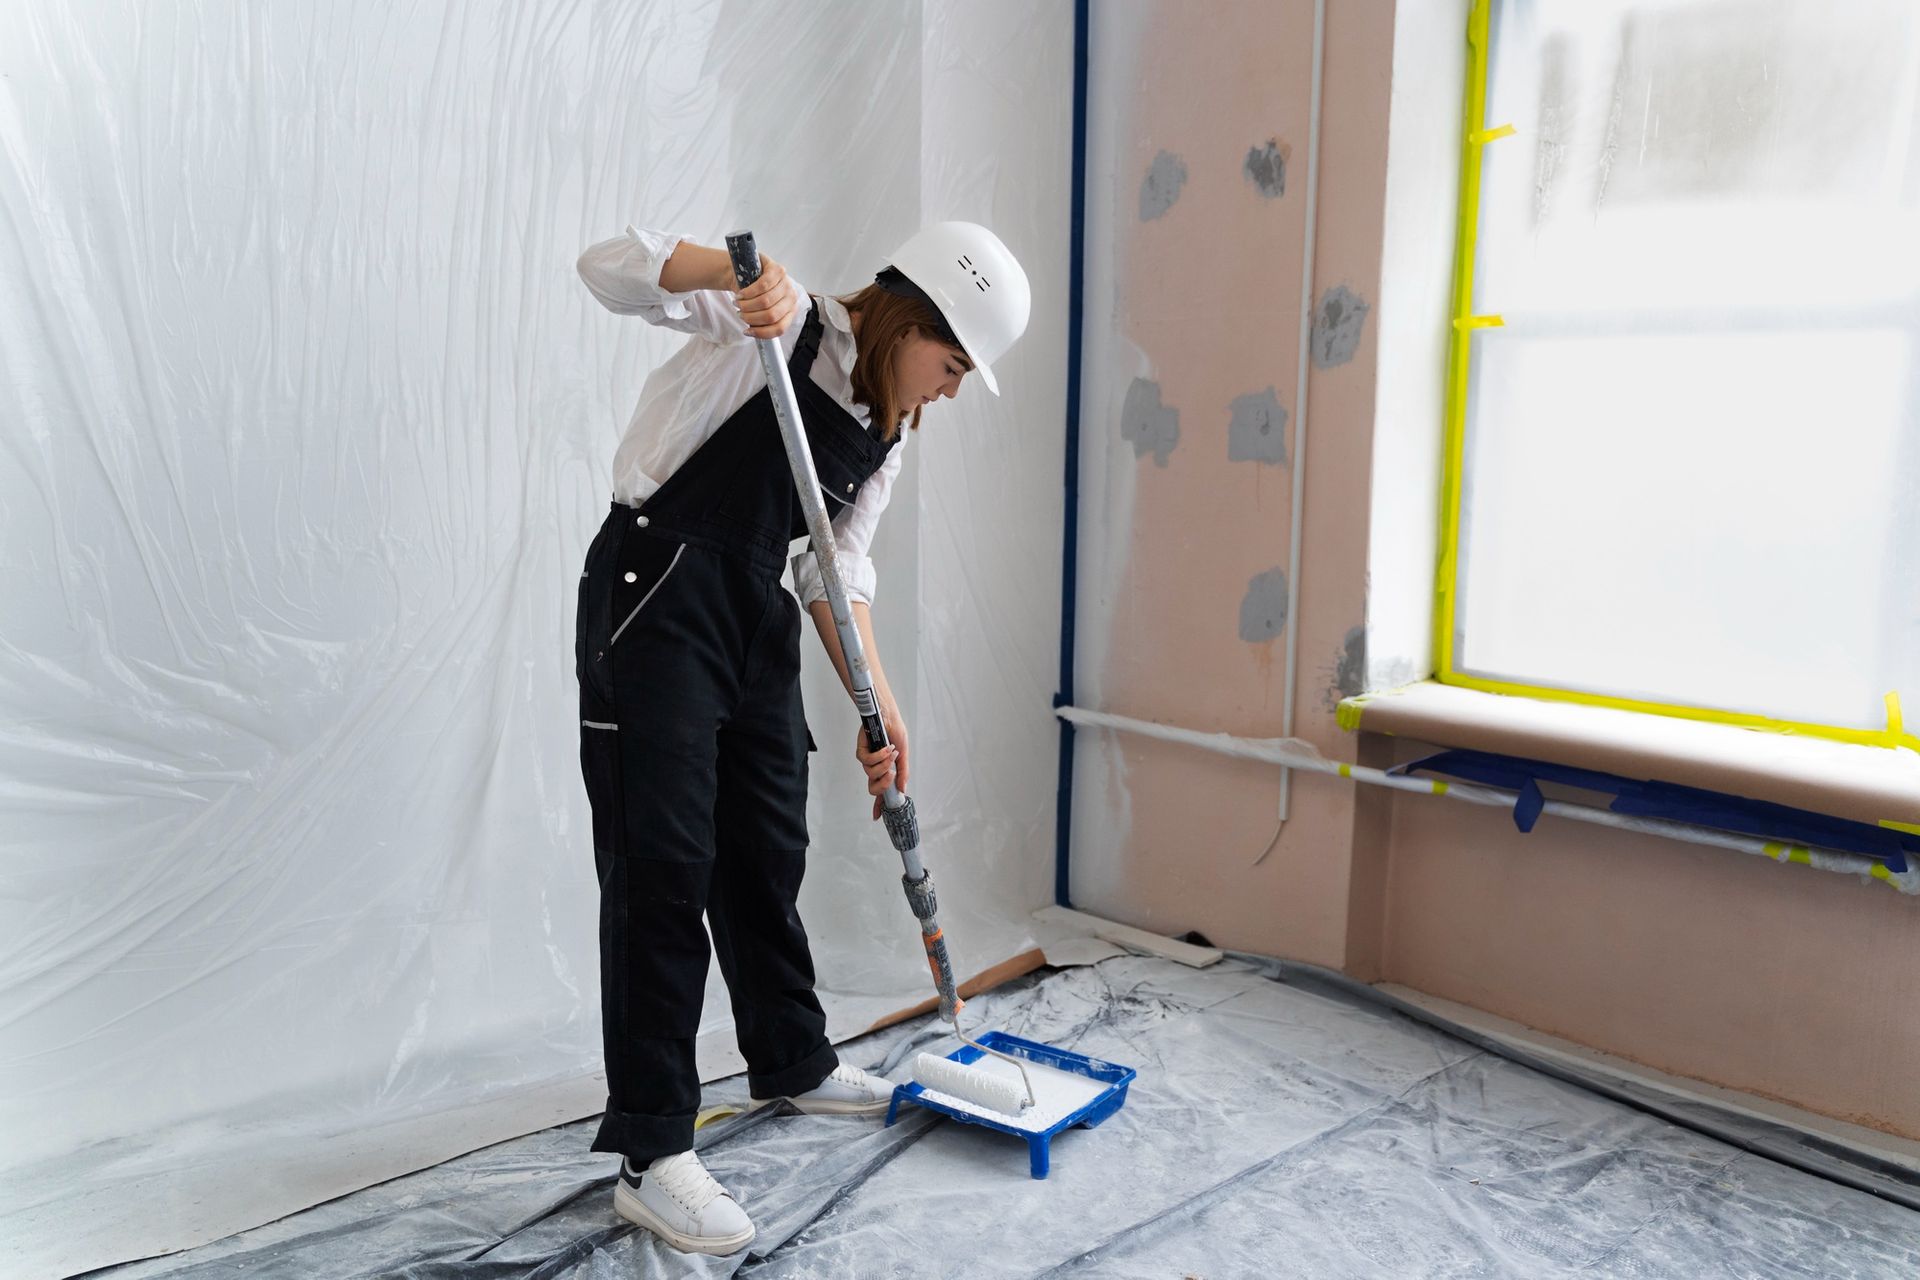
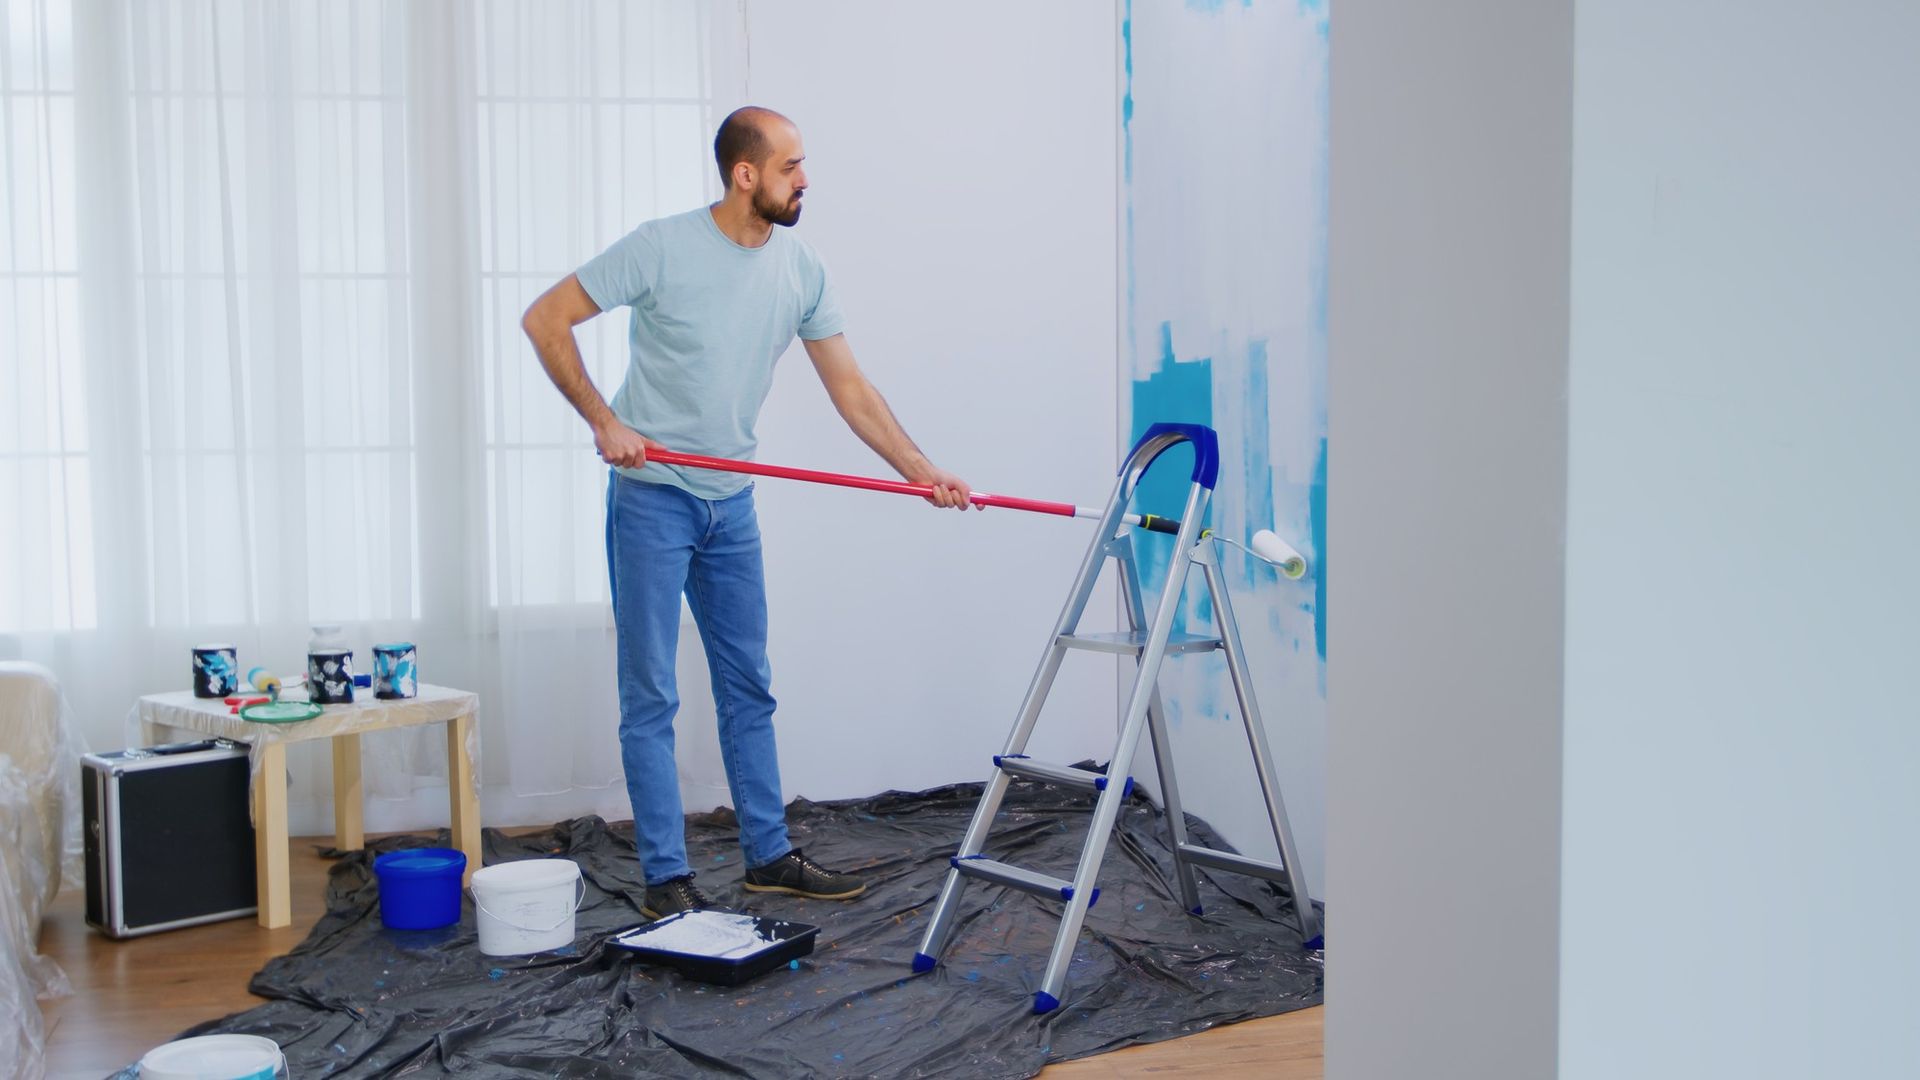
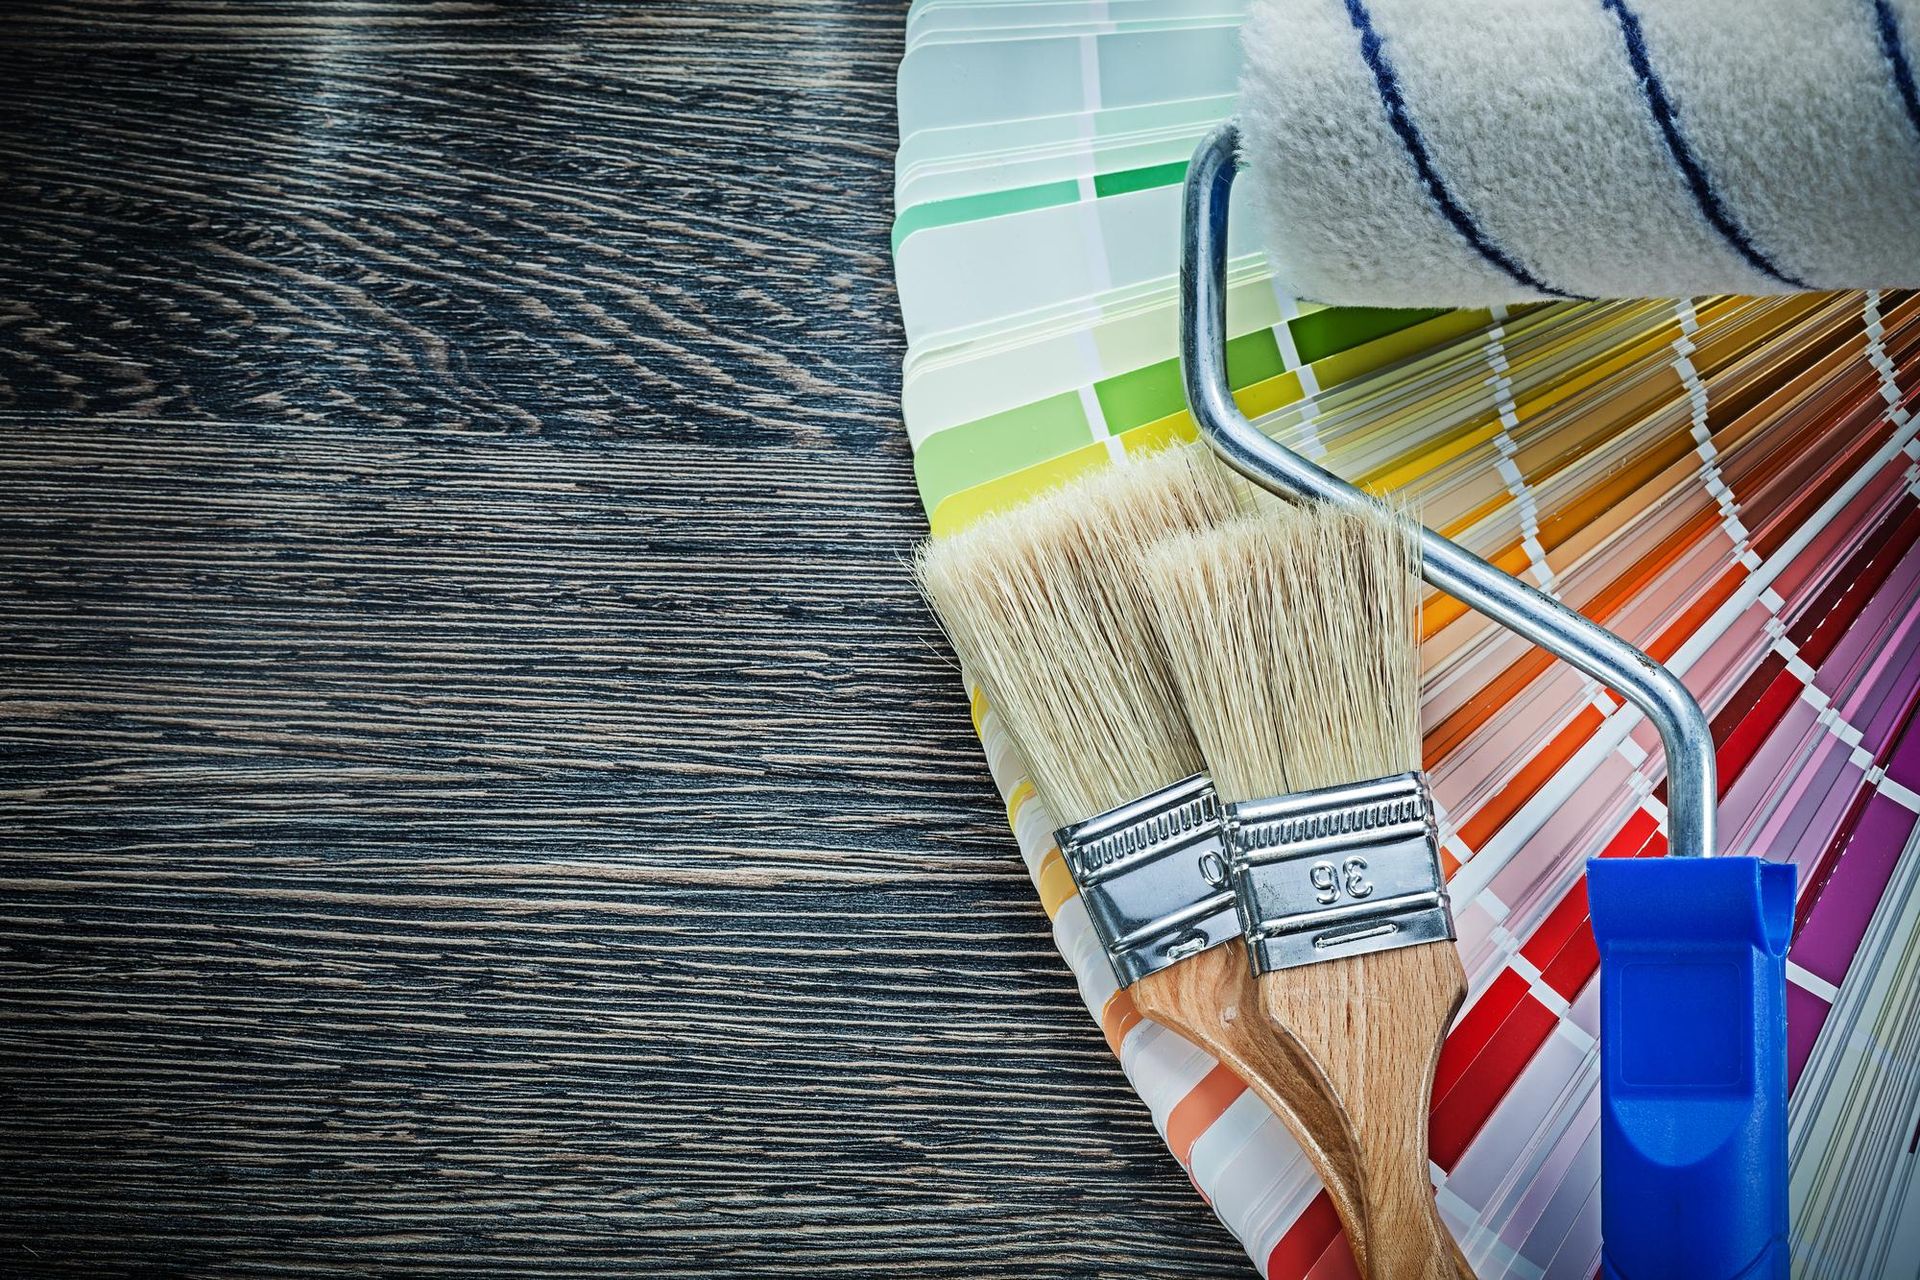
- Paint Application: With your primer dry and your paint selected, it's time to apply the paint to your cabinets. Use a high-quality brush, foam roller, or paint sprayer for best results, depending on your preference and the complexity of your cabinet design. Apply the paint in thin, even coats, working from top to bottom and following the natural grain of the wood. Avoid overloading the brush or roller to prevent drips and uneven coverage. Allow each coat to dry completely before applying additional coats, following the drying time recommendations on the paint label.
- Drying and Curing Time: Proper drying and curing time are essential to achieve a durable and long-lasting finish on your painted cabinets. Allow each coat of paint to dry fully before applying the next coat, typically around 4 to 6 hours, depending on the paint type and environmental conditions. Once all coats of paint have been applied, allow the cabinets to cure for at least 24 to 48 hours before reinstalling hardware or using the cabinets. This curing period allows the paint to fully harden and achieve maximum durability.
- Reinstallation of Hardware and Final Touches: Once the paint has cured, reattach any hardware such as handles, knobs, and hinges to the cabinets using a screwdriver or drill. Take care to align the hardware properly and tighten securely to ensure smooth operation. Inspect the cabinets for any touch-ups or minor imperfections, and make any necessary corrections using a small brush and touch-up paint. Finally, step back and admire your freshly painted cabinets, and enjoy the transformation they bring to your space.
By following these step-by-step instructions and taking your time to ensure proper preparation and application, you can achieve professional-looking results with your cabinet painting project. So roll up your sleeves, grab your paint brushes, and get ready to transform your home with a fresh new look!
Tips and Tricks for Successful Cabinet Painting
While cabinet painting is a relatively straightforward process, incorporating some expert tips and tricks can make a significant difference in the final result. Here's a detailed look at some strategies to ensure a successful cabinet painting project:
- Proper Ventilation and Safety Precautions: Before you begin painting, ensure adequate ventilation in the workspace to minimize exposure to paint fumes. Open windows and doors, and use fans or exhaust systems to improve airflow. Additionally, wear appropriate safety gear such as gloves, goggles, and a respirator mask to protect yourself from harmful chemicals and airborne particles.
- Use Quality Tools and Materials: Invest in high-quality brushes, rollers, and paint products specifically designed for cabinet painting. Quality tools will help you achieve smoother, more even application and minimize the risk of brush strokes or drips. Choose durable, stain-resistant paints with excellent adhesion properties for long-lasting results.
- Take Your Time and Pay Attention to Detail: Cabinet painting requires patience and attention to detail to achieve professional-looking results. Take your time during each step of the process, from surface preparation to paint application, and avoid rushing through the job. Carefully inspect the cabinets for any imperfections or areas that require touch-ups, and address them promptly for a flawless finish.
- Optimize Brush and Roller Techniques: When applying paint with a brush, use long, smooth strokes in the direction of the wood grain to minimize brush marks and ensure even coverage. Avoid overloading the brush with paint, as this can lead to drips and uneven application. Similarly, when using a roller, apply light pressure and work in small sections to maintain control and achieve a uniform finish.
- Minimize Brush Marks and Drips: To minimize brush marks and drips, use high-quality brushes with fine bristles and avoid applying too much pressure during painting. Work in small sections, blending each stroke into the previous one to create a seamless finish. If you do encounter brush marks or drips, lightly sand the affected areas between coats to smooth them out before applying additional paint.
- Address Common Issues Promptly: Throughout the painting process, be on the lookout for common issues such as brush marks, drips, or uneven coverage, and address them promptly to ensure a professional result. Keep a damp cloth or sponge handy to wipe away any drips or smudges before they dry, and use sandpaper to smooth out rough spots or imperfections between coats.
- Practice Patience and Allow for Adequate Drying Time: Patience is key when it comes to cabinet painting. Allow each coat of paint to dry fully before applying the next coat, and resist the temptation to rush the process. Depending on the type of paint and environmental conditions, drying times may vary, so refer to the manufacturer's instructions for guidance. Additionally, allow the final coat of paint to cure for at least 24 to 48 hours before reinstalling hardware or using the cabinets to ensure maximum durability.
By incorporating these tips and tricks into your
cabinet painting project, you can achieve professional-looking results and transform the look of your space with ease. So roll up your sleeves, gather your supplies, and get ready to give your cabinets a fresh new look that will enhance the overall aesthetic of your home.
Maintenance and Care of Painted Cabinets
Conclusion
In conclusion, cabinet painting is a simple yet effective way to transform your home and elevate its aesthetic appeal. By following the steps outlined in this guide, we can achieve professional results and create a space that reflects your personal style. Whether you're looking to update your kitchen, bathroom, or any other area with cabinets, cabinet painting offers a budget-friendly solution that delivers impressive results. If you're in Bakersfield, CA, and seeking the best service provider for your cabinet painting needs, consider reaching out to John Hernandez Painting at 661-565-1209. So why wait? Grab your paintbrushes and start painting your way to a more beautiful home today!
FAQ's
-
Can I paint over my existing cabinets, or do I need to strip the old finish?
Yes, you can paint over existing cabinets without stripping the old finish. However, proper surface preparation, including cleaning and sanding, is essential to ensure proper adhesion of the new paint.
-
How long does cabinet painting typically take?
The time required for cabinet painting depends on factors such as the size of the project, the number of cabinets, and drying times between coats. On average, cabinet painting can take anywhere from a few days to a week to complete.
-
What type of paint should I use for cabinet painting?
For best results, use a high-quality enamel paint specifically formulated for cabinets and trim. Look for paints labeled as "cabinet and trim paint" or "furniture paint," as these are designed to provide excellent adhesion, durability, and a smooth finish.
-
Can I paint cabinets myself, or should I hire a professional?
Cabinet painting is a DIY-friendly project that many homeowners can tackle themselves with proper preparation and technique. However, if you're not comfortable with painting or have complex cabinet designs, hiring a professional painter may be a better option to ensure professional results.
-
How can I ensure the longevity of my painted cabinets?
To maintain the appearance and durability of your painted cabinets, it's essential to clean them regularly with a mild soap and water solution. Avoid using abrasive cleaners or harsh chemicals, as these can damage the paint finish. Additionally, consider applying a clear topcoat or sealer for added protection against wear and tear.
Working Hours
- Mon - Sat
- -
- Sunday
- Closed
All Rights Reserved | John Hernandez Painting
